As we reach the end of the dog days of summer, it’s important to ensure that your air conditioner is running smoothly to keep your home as cool and comfortable as possible.
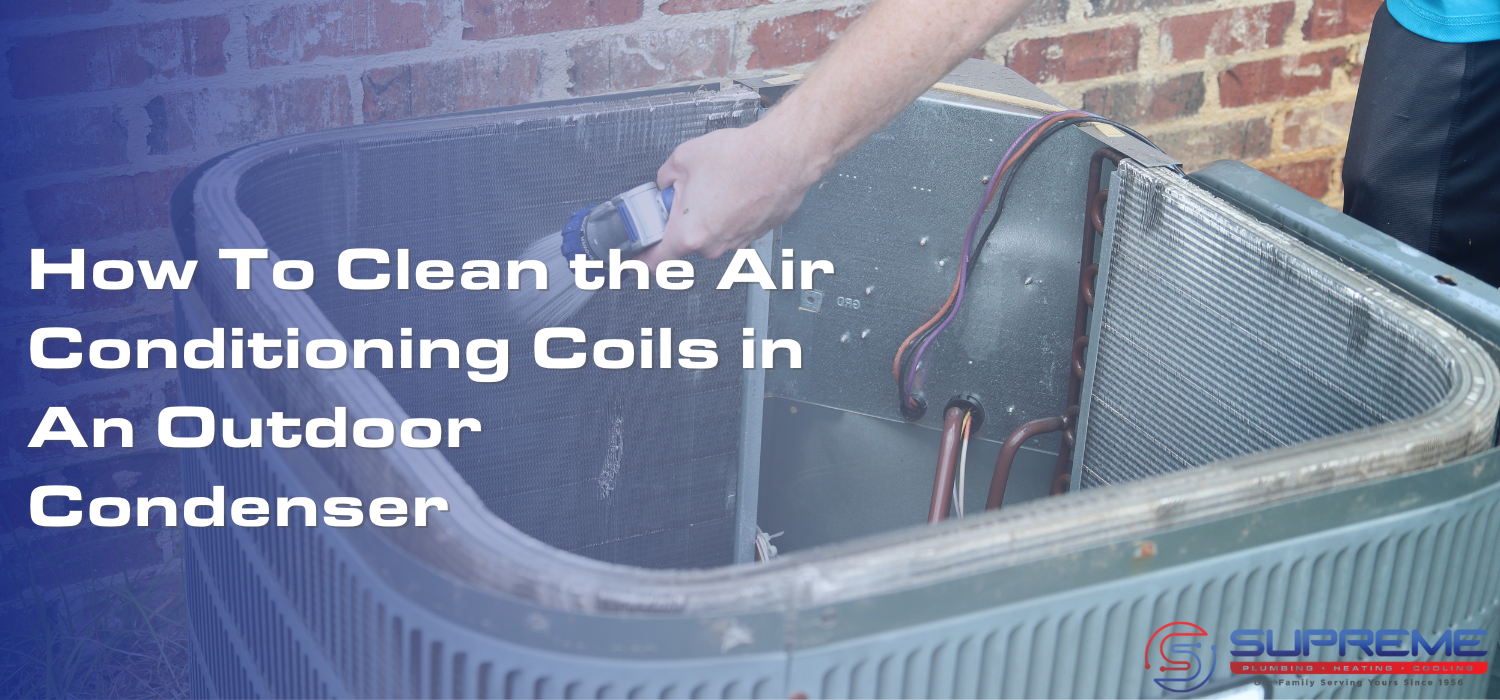
One way to keep your A/C unit in good, working condition is to keep the coils clean. However, this must be done correctly and efficiently so you don’t create any issues for your system.
Keep reading to learn how to clean air conditioning coils in an outdoor condenser!
Here’s Why You Need to Keep Your AC Coils Clean
Why is it important to know how to clean air conditioning coils?
Simply put: dirt, dust, and other pesky residue that builds up on AC coils makes it harder for your system to transfer heat.
This means that it’s forced to run longer and work harder to do its job. This in turn, uses more energy and causes more wear and tear to parts of your equipment.
Dirty AC coils can also corrode, which eventually leads to holes and cracks in the coils that cause refrigerant leaks.
Cleaning Your Coils
The following process is the best route to take in cleaning your outdoor AC coils.
1. Prepare Your Tools
Before you begin, we recommend that you have the following items ready to go:
- Screwdriver/drill
- Gloves
- Flashlight
- Hose with a sprayer attachment
- Scrub brush
- A fin comb
- A shop vacuum (ideally with a wand attachment)
- Coil cleaner/soap
2. Power Your Unit Off
You should turn off your AC unit and disable the breaker before you begin.
PRO TIP: Don’t skip this step! It’s an important safety precaution to take for both yourself and your unit.
3. Remove the Covers on The Top and Side of the Condenser Unit
Find the screws holding the top cover in place, and remove them with a drill or screwdriver. Next, do the same on the side cover.
Be sure to safely set aside all these bolts and screws, so that you don’t lose them!
4. Unscrew the Condenser Fan From Unit
This step is optional, and depends on your condenser model.
Use a screwdriver or drill to remove the fan from the condenser unit. This will allow you to have easier access to the coils, making them much easier to clean
If your unit doesn’t have screws holding the fan in place, or if you’re struggling to complete this step, don’t force it—just proceed to the next step, or call a professional.
5. Perform a Quick Inspection of The Inside of Your Unit
While you’re inside, it’s a good idea to look around inside your equipment. Look for loose wires, cracked or broken pieces, or any other concerning issues.
If you see something that looks abnormal, call an AC expert for help.
6. Pick Out and Vacuum Debris
Now, it’s time to start cleaning. Before you bring out the vacuum, start by putting on gloves and removing bigger pieces of debris with your hands. Leaves, pebbles, grass clippings, or other debris may have made its way into your unit.
Once you’ve grabbed all the larger debris, use your vacuum to get rid of dust and other smaller debris.
PRO TIP: The wand attachment is handy for this part, and can help to get in all the nooks and crannies.
7. Spray Your Coils With a Foaming Cleanser
Once you’ve eliminated most of the dust and debris, begin cleaning the coils. To begin, use a gentle hose setting to spray your hose on the coils.
After you’ve adequately wet them down, spray a canned foaming cleanser onto the coils and let it sit for about 5 to 10 minutes, or however long the bottle directs.
8. Rinse Your Coils
Use your hose to rinse the coils after the cleaner has done its job.
We recommend starting by spraying the unit from the inside out, then top to bottom. This will keep soap residue from dripping onto the clean coils.
9. Reassemble
Once your coils are properly rinsed, let the unit air dry completely. Now, put the fan back in, reattach the side cover, and screw everything in place.
Once you’ve put all the parts back, you can power your unit back on.
Your AC is now clean!
10. Remember: Always Contact An Expert For Help
If you’re not entirely confident in your ability to complete this process by yourself—that’s okay! An AC expert will be happy to help you.
Our A/C team possess the skills and experience to clean all parts of your AC system until it’s good as new, allowing the best possible functionality.
Contact Supreme for Your HVAC Maintenance
For any HVAC maintenance or repairs, Supreme is here to assist you. We’re happy to help with any procedures—big or small—and we work hard to deliver results you’ll love.
Contact us today for your appointment!

